
Tracking Aircraft with PiAware
For my latest project, I built a flight tracker with a Raspberry Pi and an antenna, which feeds data to the popular flight tracking website, FlightAware. This was a project that took a few days to accomplish.
I was inspired to do this project by my frequent use of websites such as FlightAware. I have always wondered how companies like FlightAware have been able to track so many planes, given the monumental expenses that would be needed if a website such as FlightAware relied solely on industrial radar and satellite radar. That’s how I found PiAware; FlightAware and other tracking websites such as Flightradar24 and PlaneFinder encourage users to use Raspberry Pi DIY computers, coupled with radio receivers and antennas, to receive ADS-B data from aircraft and send it to these websites to improve their coverage. In return, they will usually give you a premium account for free. A very large number of people have built ADS-B stations like this, and they count for a very high percentage of FlightAware’s coverage.
The parts needed are a Raspberry Pi, a microSD card to house the software, a radio receiver like the ones that FlightAware provides, a power supply for the Pi, and an antenna. A case for the Pi is optional but recommended to help protect from static electricity. My setup used a rather high-end antenna bringing the total cost to about $100 (Pi not included since I already had one), but low-end setups with smaller antennas can reach similar results with about $30.
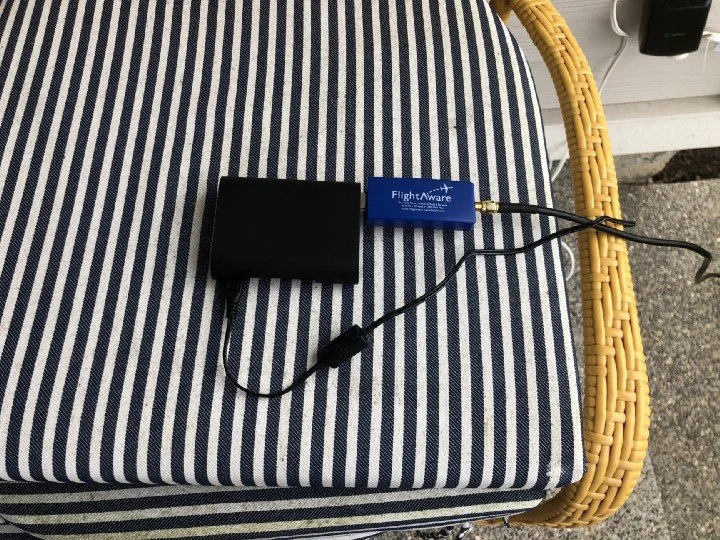
The Pi and receiver, plugged into the wall.
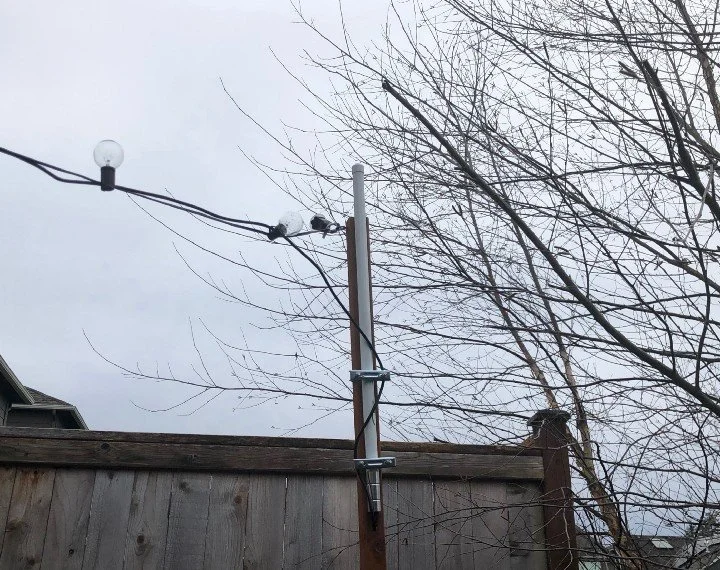
The antenna, bolted to a light fixture in the backyard.
Once the software is loaded on and the computer is started up, usually the website of the service you want to give information to will detect it. In my case, however, it did not. What followed was an exercise in debugging. The way that the computer connected to the network was by reading a configuration file in the disc, which had to be filled out with the name and password of the network beforehand. However, the Pi failed to connect. Then came the realization that, since the name of our network had irregular characters, it had to have quotation marks around it. So, I put the quotation marks, and yet, no dice. I attempted to use a different home network. No dice. Eventually, after combing the logs, I found that two critical pieces of information were needed: the country code had to be inputted separately (a FlightAware contributor said that the setting hadn’t been documented well; they should get around to it), and that the internal WiFi receiver on the Pi did not accept 5Ghz networks, only 2.4Ghz. In the end, I had to plug the Pi into the monitor of my PC with an HDMI cable sprouting from it like a strange umbilical. From there, I took a look at the raw status page, editing settings to get it to connect. Eventually, after 6 hours, connection was successful; my Pi was seeing aircraft in the air!

The interface showing what the radar is seeing.
This screen shows all the aircraft that the radar is picking up; the maximum range for my setup is about 100 miles. However, it has picked up some signals from 150 miles away, and even one from 250 miles away. The constraints of my setup meant that it could only be placed 7 feet above the ground; an ideal setup would be as high off the ground as possible. However, for a beginner setup, being able to track aircraft over 100 miles away is pretty cool.